Week 9
- Mar 9
- 3 min read
Critique
color palate looks solid and cohesive
shot 1 (pedestal)
pedestal material should be reworked and higher resolution
composition of the background distracts from the ring,
make it more similar to the background of shot 5
shot 3 (flower)
Looks great! Finished shot
elevate all other shots to this level
shot 2 (water) + shot 4 (cloth)
needs to now match the flower shot
water shot needs the most work
try for more depth and a bluer look
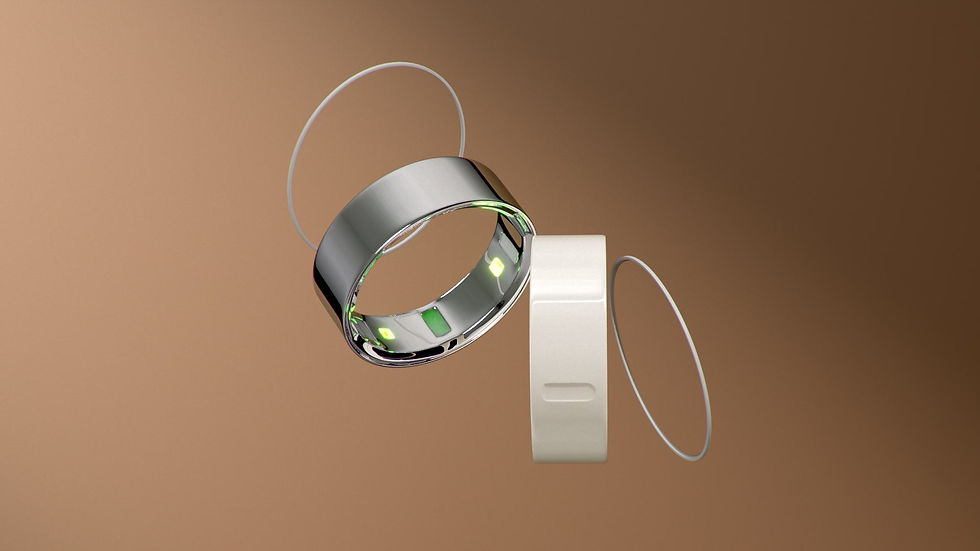
shot 5 (break apart)
the camera pops weirdly when the ring first splits
Sound
the muffling works well, but there needs to be a better transition out of it
music is surprisingly jazzy, try switching to something more like a sound bath, or elegant sounding
Motion graphics
make sure the type is legible— keep it to darker areas of the frame
have a bit more fun with it (e.g. the word 'sleep' is slower to appear)
This week's critique was particularly special because the mentors visited in person! It was so much fun to have a face-to-face dailies, and the whole time they visited I learned so much in such a short time!

Most of the critique centered on compositing, as we're in the final stretch of this project. The mentors liked the progress of shot 3 (flower) and the general sentiment was to get the other core shots, shot 2 and 4 (water and cloth), to match where the flower shot is at.
Shot 2 (water)
Molly Intersimone, one of the mentors from Harbor Picture Company, was so awesome and sat down with me after dailies to work on ways to elevate the water shot. The main technique she taught was to bokeh the bubbles to add depth to the shot.

Tree of Molly's Demo

Demo by Molly, look at the bubbles in the background!
She showed me how to create a hardened edge for the bokeh to help it stand out more, as well as how to use the god ray node to add chromatic aberration (neat trick!).

Normal Bokeh

Bokeh w/ hardened edge

Bokeh w/ chromatic aberration

GodRay node properties for chromatic aberration

closeup of result from Molly's Demo
Molly also took a look at the rest of the file, and noted that the lighting for the ring looked pretty weird and flat, which made grading it difficult. She recommended I kick the water shot back to 3D and have them re-light the ring, as well as lower the amount of background bubbles.
I re-created the bokeh effect Molly showed me in my own node tree, however the z_depth with the new bubbles was pretty different, so all the bubbles were too defocused.

I fixed this by using a noise as a matte for the bokeh. This type of method felt familiar, as I've built procedural textures within Copernicus in Houdini in a previous class, and used noise a lot in this way. It's cool to see how those lessons transfer!


closeup of too defocused bubbles
issue fixed by using noise as a matte
Beyond adding the bokeh to the bubbles, I also regraded the ring from its updated lighting, made the water bluer and darker to let the foreground stand out more, and increased contrast/restored detail to the highlights of the white water.

Shot 4 (Cloth)
The cloth shot uses many techniques that I used in the flower and water shots, most importantly shaping the values.

cloth shot before value shaping

after value shaping
I also added the 'finishing touches', i.e. adding grain and chromatic aberration (using the cool GodRay technique!) to all shots.

before grain and chromatic aberration

after grain and chromatic aberration
The result is pretty subtle but is definitely just that cherry on top!
Shot 3 (flower), as well as the bookend shots 1 & 5 didn't have much change comp-wise. The pedestal texture in shot 1 was replaced, as well as the background. Shot 5 (break apart) had a change to the camera animation, though that didn't affect the composite, as I didn't have keyed rotos.
We had Sound updated, however our Motion Graphics artist wasn't able to update the motion graphics, as we were all in the thick of finals and this was a volunteer project for her. It's a bit unfortunate, but I was able to move the location of the graphics to better locations to address the root issue.
Before & Afters of each shot

Shot 1 Before

Shot 1 After

Shot 3 Before

Shot 3 After

Shot 2 Before

Shot 2 After

Shot 4 Before

Shot 4 After

Shot 5 Before
Shot 5 After